Watercolor on Wood: Step by Step Guideline For Beginners
A watercolor surface is an important area to analyze for the painters before starting a project. The surface – be it wood or of any other form or material – has some key factors which must be considered before beginning; absorbency, color, and stability.
An ideal amount of absorbency implies that how much paint will sit and spread on the surface and how much will sink into it. The perfect amount of absorption will create more vividness allowing maximum reflection of light.
The color of the surface plays a significant role in standing out the watercolor on wood. It should be considered based on what effect you're trying to achieve, e.g., grainy or vivid.
A stable surface is another criteria you should keep in mind. Stability refers to the surface being pH neutral, and prevent any sort of reactions that might degrade the watercolor that you would be using.
Unlike the traditional support materials to apply watercolor paint, wood is a surface that needs a bit of prep. If you are looking for a grainy feel for your artwork, then wood is a support material you must consider.
However, it has absorption issues so to avoid additional waste of colors; these are not applied directly.
Table of Contents
First Step: The Prep Work
Prep work is essential to prevent soaking of the colors initially. The prep work includes the following:
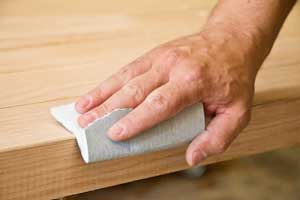
(i) Sanding

The wood ought to be sanded properly with fine sandpaper if the sample doesn’t come already sanded. The objective of this task is to ensure a smooth surface for the colors to adhere to the surface.
Do check that the environment is well ventilated and you wear a mask to resist the tiny wood particles floating. Keep in mind that higher the number of grits, the better the sandpaper is.
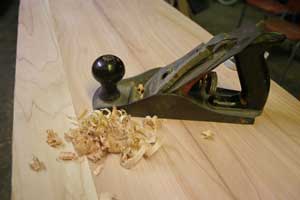
(ii) Wood Shaving

To remove the dust particles or wood shavings, you can resort to a vacuum cleaner or compressed air. Simpler methods include blowing off with the mouth, but that is undesirable.
However, you can use a cotton rag to serve the purpose too. Dust particles will absorb extra paint and make it hard for the brush stroke to operate smoothly.
Second Step: Priming the Wood
Primer is a substance used as a preparatory coat over wood to prevent absorption of paint and formation of rust. Usually, the wood we buy from the stores is primed just like a canvas.
If you had a canvas that had not been primed yet, you would have noticed how much paint it absorbs without this prep work. Hence, the priming is essential.
Some priming substances include:
i. Gesso
Gesso is similar to acrylic paint, just thinner. It is a white paint mixture consisting of a binder with different combinations of chalk, gypsum or pigment. It dries, becomes hard and makes the surface stiff. But the grainy look disappears when gesso is used as a primer.
So, depending on the artist's choice, gesso is used for non-grainy arts. A light coat will allow some grains to resurface satisfying both ends.
ii. Watercolor Ground
An alternative to gesso, watercolor ground is probably the best primer to use. It has an additional feature than a primer; it kind of makes the wood look vibrant with colors without looking fake.
Those of you who have tried photo editing applications will find the resemblance of this with the contrast option of the editor. It comes in different hues, e.g., gold, white, transparent, etc.
Also, this primer is not limited to woods and canvas; you have the liberty to use it on glass, plastic, metal and pretty much everything.
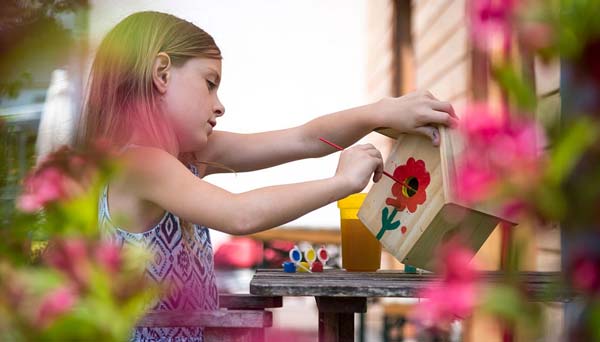
Third Step: Painting Watercolor on Wood
Another criterion to be kept under consideration is how the artist wants the depth of the water color on wood. Some prefer it light, and few like it dark depending on what they mean to create. A lot of this depends on the prep work and experience.
Sanding and priming proportions are to be kept constant for this case as per requirement of the artist. The right amount of absorption and adherence of watercolor on wood is experimental.
So, there are no limits to experimentation, and as a painter, you can discover all the options and do whatever suits your purpose.
Remember to Choose The Right Varnish

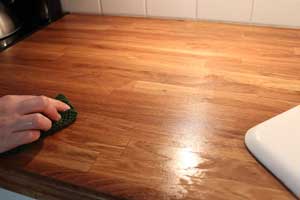
Varnish is a clear, transparent, hard protective finish or film. It is excellent for preserving purposes. Varnishing fares a lot better when humidity is kept on the check.
If it is too warm, the varnish will dry a little too quickly, resulting in the formation of tiny air bubbles. If it is too cold or humid, the varnish will dry a little slowly, thus allowing small dust particles to settle onto the tacky varnish.
It is recommended if you wish to preserve your painting for self-pleasure up to a long period. Some artists prefer not to varnish their painting. Instead, they use a piece of glass as covering for presentation.
For wood surface users, varnishing is mandatory for the raw nature of wood.
Arabic gum and linseed oil are two of such examples of binding agent. Varnishing agents should be such that they dry fast as well as prevent discoloration of the pigment and will not yellow at all so that the artwork piece does not look washed out or less vibrant.
Read Also: Difference Between Watercolor and Gouache
In Case You Need Alternative to Wood
To save the hassle of prep work, artists can find a way to a new alternative, the Aquaboard. The surface of the board is not wood. Instead, it is textured clay.
If you are willing to paint on an art paper which also has a backbone of wood, this is the right choice. You do not have to worry about additional prep work.
But for that, you have to sacrifice the grainy feel that you find across any wood. Aquaboard has been mentioned as the easy way out an alternative by numerous expert woodworkers.
Conclusion
The above guidelines are just starting points for any artists or beginners trying to get their hands on this mode of painting, for instance, watercolor on wood. It is just the outline of what you need and how to do so. The rest is up to you.
As you proceed, you will find different ways which suit your work and based on your workflow you can mend the ways and proportions of your prep work and priming.
The process will get easier once you find your desired style of the surface, if you like it too grainy or if you are going to use more primer. Balancing out the proportions, you will be able to get the desired surface. Voila, now the world is between your mind and the canvas wood!
Related Resources:
2. Different Ways To Blend Colored Pencil

